
Brake System Components Checklist: Your Safety Guide
A thorough brake system components checklist covers twelve distinct areas: brake fluid and master cylinder, brake lines and hoses, brake pads and linings, calipers and caliper hardware, rotors and drums, wheel cylinders, parking brake system, ABS sensors and modules, brake booster, and operational testing. Aligned with FMVSS 105 and FMVSS 121 standards and ASE A5 Brake Service certification, this guide gives you every component to check before a problem finds you first.
Quick-reference components to include on every inspection:
- Brake fluid condition and level
- Brake master cylinder and reservoir
- Brake lines, steel tubing, and rubber hoses
- Brake pads and linings on all wheels
- Calipers, pistons, and slide pins
- Rotors and brake drums
- Wheel cylinders (drum brake systems)
- Caliper brackets, anti-rattle clips, and abutment hardware
- Parking brake cables, actuators, or electronic parking brake (EPB) system
- ABS wheel speed sensors and control module
- Brake booster (vacuum or hydraulic)
- Operational pedal and road tests
Table of Contents
- 1. How to check brake fluid and brake lines
- 2. Brake pad and lining inspection checklist
- 3. Caliper and caliper hardware inspection checklist
- 4. Rotor and brake drum evaluation checklist
- 5. Inspection and operational testing of the parking brake system
- 6. Professional best practices for thorough brake inspections
- 7. Air brake and hydraulic brake components
- 8. Common signs of brake wear or failure
- 9. How to check ABS components and sensors
- 10. How to check brake booster function
- Tom’s B & M Auto keeps your brakes inspection-ready
- Key Takeaways
1. How to check brake fluid and brake lines
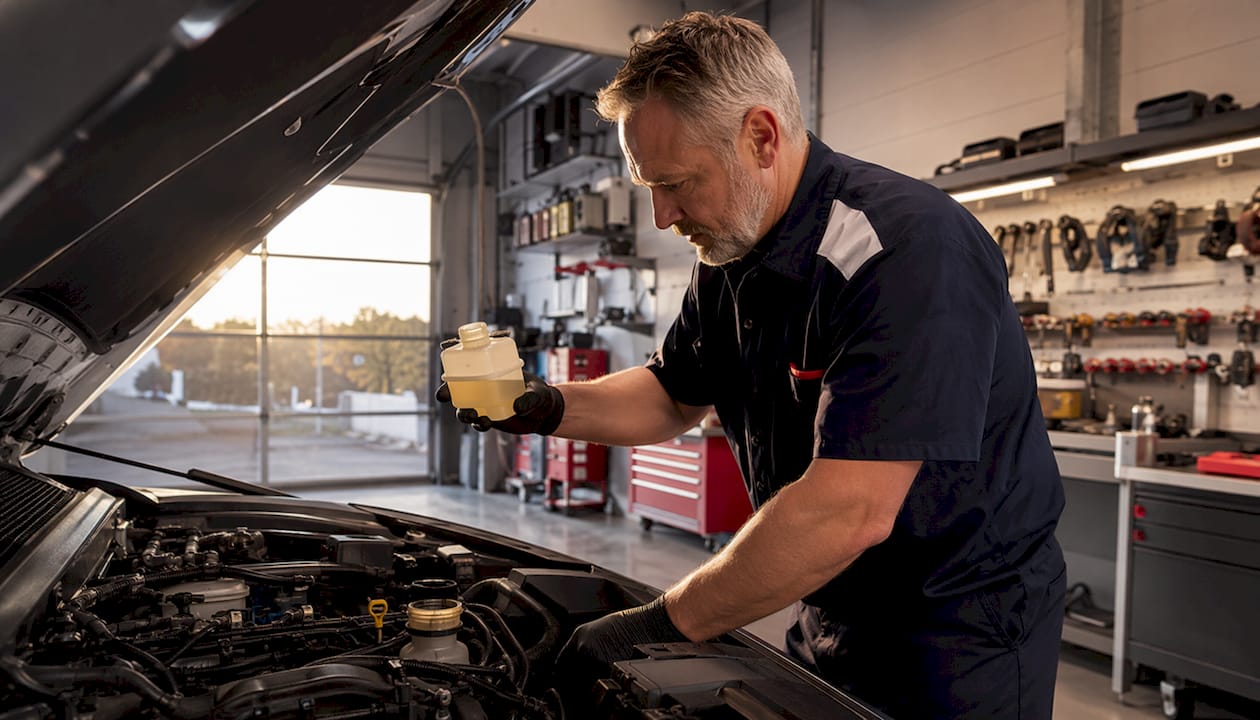
Brake fluid is the hydraulic backbone of your stopping system, and its condition matters more than most drivers realize. Fresh fluid is transparent to light amber. Dark, murky fluid signals contamination and needs replacement. Color alone, though, tells only half the story.
High moisture content lowers the fluid’s boiling point, which causes brake fade during hard stops. A brake fluid tester kit measures moisture directly and takes about 30 seconds per vehicle. Use one regularly during brake service to check moisture content.
Brake fluid and lines inspection checklist:
- Check fluid color and moisture content with a tester kit
- Inspect the master cylinder reservoir for proper level, leaks, and gasket condition (swelling, cracking, or tears)
- Examine rubber brake hoses for cracking, chafing, bulging, or collapse
- Inspect steel brake lines for corrosion, kinks, or rubbing damage at frame contact points
- Check all junction fittings and connections for seepage
Pro Tip: After bleeding the brake lines to remove air pockets, recheck fluid level before closing the reservoir. A spongy pedal after a bleed almost always means one bleeder screw was not fully closed.
2. Brake pad and lining inspection checklist
Replace brake pads before they become very thin, as the final thin layer wears faster under heat. Replace brake pads once they reach 3–4mm thickness, as the final 2mm wears very quickly under heat and leaves little margin for safe stopping. You can inspect brake pads at home through the wheel spokes on most vehicles, though a full measurement requires wheel removal.
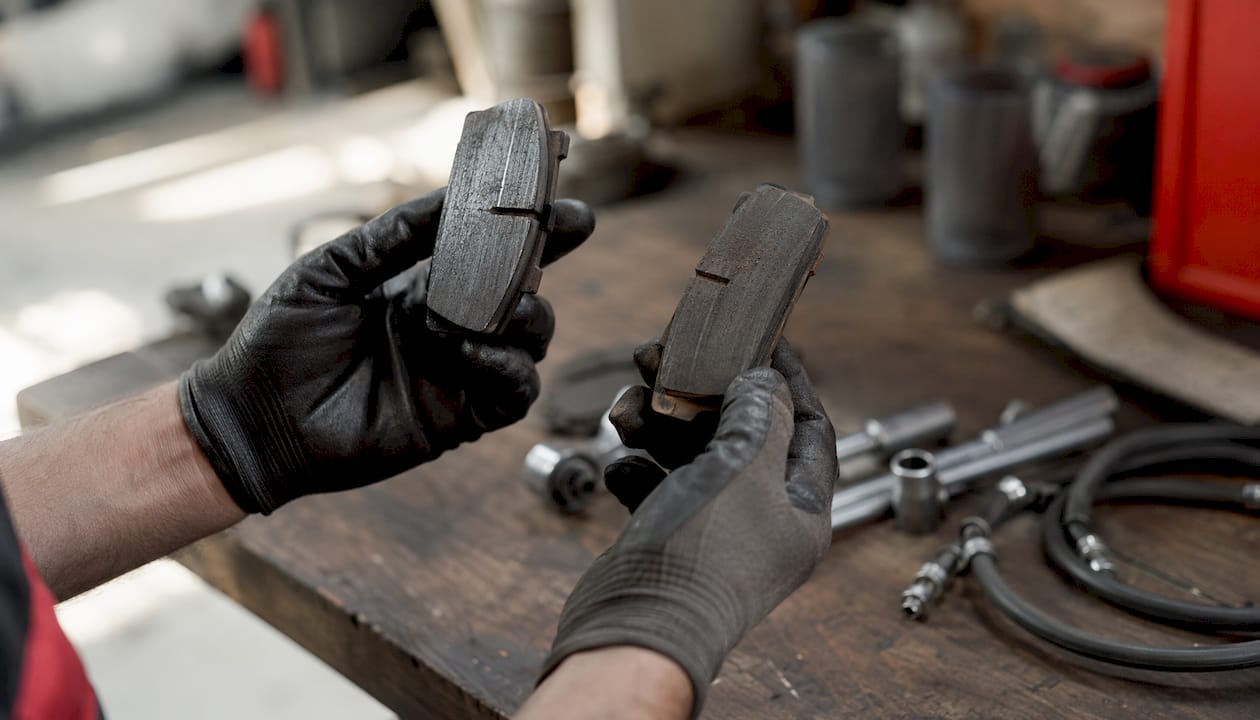
Uneven wear between inner and outer pads is a diagnostic signal, not just a cosmetic issue. It points directly to a sticking caliper piston or seized slide pin, both of which will destroy a new set of pads in short order.
Brake pad inspection checklist:
- Measure thickness on all four corners and document results
- Compare inner pad thickness to outer pad thickness on each caliper
- Check for contamination from oil, grease, or brake fluid on the friction surface
- Look for cracks, embedded debris, or lining separation from the backing plate
- Confirm riveted pads are not worn within 6/32" of any rivet head; bonded pads within 2/32"
3. Caliper and caliper hardware inspection checklist
A caliper that does not move freely will destroy new pads within weeks. Professional inspection verifies that the caliper piston moves and retracts correctly, and that slide pins are lubricated and free of corrosion. Immobile slide pins are one of the most common causes of uneven pad wear and brake noise that shops see.
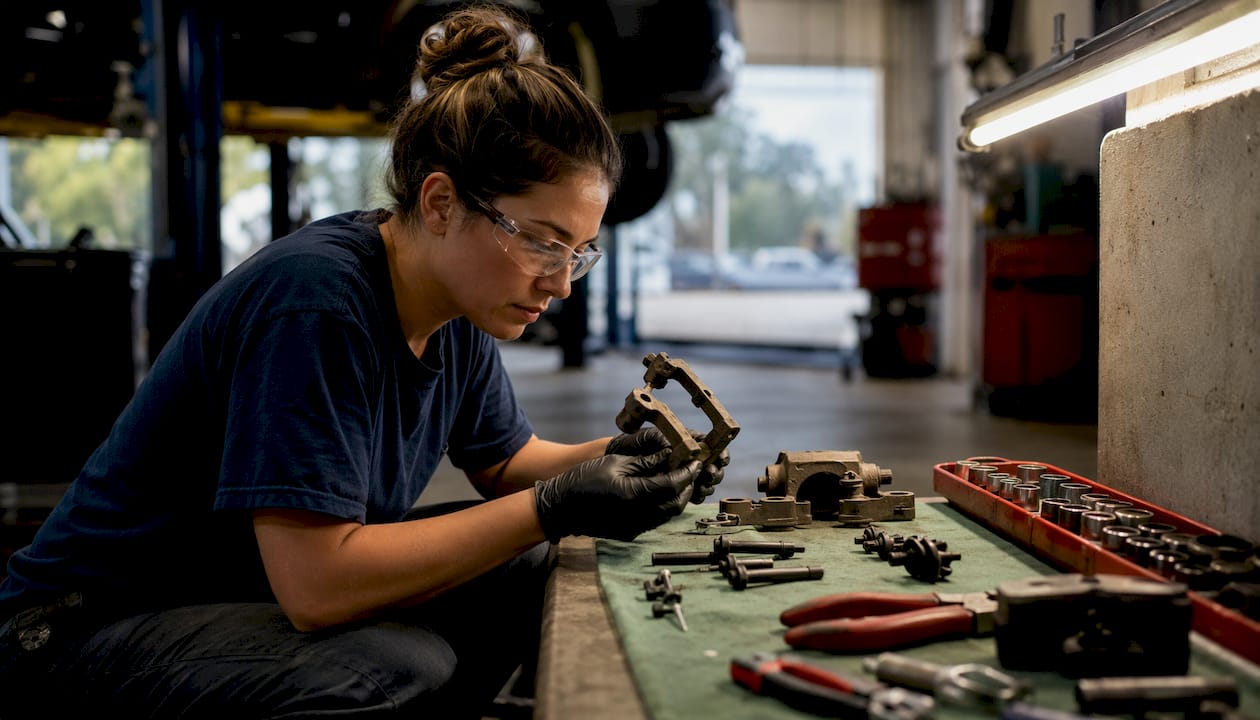
The hardware sweep is where many DIY inspections fall short. Removing the abutment clips, cleaning rust and corrosion from the caliper bracket mounting points, and reinstalling fresh hardware prevents the squealing and sticking that follow a pad replacement done without this step. Read more about caliper function and inspection before tackling this yourself.
Caliper and hardware checklist:
- Push caliper piston inward and confirm smooth, even retraction
- Pull and inspect each slide pin for corrosion, pitting, or binding
- Lubricate slide pins with the correct high-temperature brake grease
- Remove abutment clips and clean rust from bracket contact surfaces
- Inspect caliper body for fluid leaks around the piston boot
- Install new anti-rattle clips when replacing pads
Pro Tip: If a caliper piston won’t retract with normal hand pressure, do not force it. A seized piston usually means the caliper needs replacement, not just cleaning.
4. Rotor and brake drum evaluation checklist
Rotors wear in ways that are easy to miss without a micrometer. Surface rust after rain is normal and clears within a few stops. Deep grooves, heat spots (blue or dark discoloration), cracks, and a raised rust ridge at the outer edge are not normal and affect stopping distance directly. Always measure rotor thickness against the manufacturer’s minimum discard specification, which is stamped on the rotor hat or listed in the service manual.
For drum brake systems, remove at least one front or one rear drum per axle to inspect shoes, wheel cylinders, and internal hardware. Never reuse cotter pins when remounting a wheel and drum assembly. They are single-use safety devices, and reusing them compromises the entire wheel assembly.
Rotor and drum checklist:
- Measure rotor thickness at multiple points and compare to discard spec
- Inspect friction surface for deep grooves, heat spots, cracks, and rust ridges
- For drums, measure inside diameter against wear limit
- Inspect drum brake shoes for lining thickness, contamination, and secure attachment
- Check wheel cylinders for hydraulic fluid leaks (a drop forming is a rejection point)
- Document all four corners and flag any corner below spec for immediate replacement
5. Inspection and operational testing of the parking brake system
Mechanical parking brakes use cables, guides, and an equalizer to apply rear brakes independently of the hydraulic system. Inspect each cable for fraying, corrosion, or binding through the full range of travel. The equalizer should move freely and sit centered when the brake is released.
Electronic parking brakes add a layer of complexity that catches many technicians off guard. Failing to use a scan tool to place EPB calipers into service mode before removal can permanently damage the electric actuator. This is not a workaround situation; the tool is required.
Parking brake checklist:
- Inspect cables for fraying, corrosion, and smooth travel through guides
- Check equalizer hardware for free movement and centered position
- For EPB systems, use a compatible scan tool to activate service mode before any caliper work
- Test engagement: apply the parking brake on a grade and confirm the vehicle holds
- Test release: confirm full release with no drag at the rear wheels after disengagement
Pro Tip: On EPB-equipped vehicles, always verify the actuator retracts fully after service mode is exited. A partially retracted piston causes immediate rear pad drag and overheating.
6. Professional best practices for thorough brake inspections
Evaluating brake components as a system, not as isolated parts, is what separates a professional inspection from a quick look. Caliper movement directly affects pad wear rate. Pad wear rate affects rotor condition. Rotor condition affects pedal feel. Pulling on one thread without checking the others produces an incomplete diagnosis.
Brake fluid moisture testing with a dedicated tester, rather than a visual check alone, catches hidden failure modes before they show up as fade during an emergency stop. ASE-certified technicians performing a full brake inspection follow a documented process covering all 29 inspection points across pad thickness, rotor measurement, hydraulic system integrity, ABS functionality, and service documentation.
Pro Tip: Always perform a detailed hardware sweep at every pad replacement: remove abutment clips, wire-brush all rust from bracket contact surfaces, and install new clips. Skipping this step is the single most common reason customers return with brake noise within weeks of a pad job.
7. Air brake and hydraulic brake components
Passenger vehicles use hydraulic brake systems, where fluid pressure transfers pedal force to the calipers or wheel cylinders. Commercial and heavy vehicles often use air brake systems, where compressed air actuates brake chambers at each wheel. The inspection priorities differ significantly between the two.
For hydraulic systems, the master cylinder, brake booster, calipers, wheel cylinders, and all lines and hoses form the pressure circuit. For air brake systems, the air compressor, reservoirs, treadle valve, brake chambers, S-cam or disc assemblies, and ABS modulators all require inspection. Air reservoirs must have functional condensate drain valves, and the system must rebuild pressure to at least 80% of governor cut-out pressure within five minutes from a fully depleted state.
8. Common signs of brake wear or failure
Grinding during braking means the pad friction material is gone and metal is contacting the rotor. Squealing that persists beyond the first stop of the day usually indicates worn pads, glazed rotors, or contaminated friction material. A spongy or low pedal points to air in the hydraulic lines, a failing master cylinder, or a brake fluid leak somewhere in the system.
Pulling to one side under braking almost always traces back to a stuck caliper, a collapsed brake hose restricting flow to one corner, or severely uneven pad wear. Vibration through the pedal or steering wheel during braking typically means warped rotors or uneven rotor thickness variation. Any of these symptoms warrants immediate inspection, not a “watch and wait” approach.
9. How to check ABS components and sensors
The Anti-lock Braking System relies on wheel speed sensors at each corner to detect wheel lockup and modulate brake pressure accordingly. ABS and electronic stability control systems require verification of sensor and system functionality as part of any complete safety inspection.
Check the ABS warning light on startup. It should illuminate briefly and then go out. A light that stays on, or one that does not illuminate at all, indicates a stored fault code that needs to be read with an OBD-II scanner. Physically inspect each wheel speed sensor and its wiring harness for damage, corrosion at the connector, or debris packed around the sensor tip. A gap between the sensor and the tone ring that is too large will cause intermittent ABS activation or a fault code even with no other damage present.
10. How to check brake booster function
The brake booster multiplies pedal force using engine vacuum (or hydraulic pressure on some vehicles), so a failing booster makes the pedal feel hard and requires significantly more leg effort to stop. Testing it takes about 30 seconds.
Stop the engine, then pump the brake pedal several times to exhaust all stored vacuum. Hold moderate pressure on the pedal and start the engine. If the booster is working, the pedal will drop slightly as vacuum is restored. No movement means the booster is not functioning. For hydroboost systems, the accumulator must support at least two full brake applications after the engine is off. On electrohydraulic booster systems, turn the ignition on without starting the engine and confirm the electric pump activates and the indicator light operates correctly.
Tom’s B & M Auto keeps your brakes inspection-ready
Knowing what to check is half the job. Getting it done right, with calibrated tools and documented results, is the other half.
Tom’s B & M Auto has served Lynnwood drivers since 1985, and every brake inspection follows the same ASE-certified process described in this guide: pad measurement on all four corners, caliper movement verification, fluid moisture testing, hardware sweep, and a full operational test. ASE-certified technicians handle everything from standard hydraulic systems to EPB-equipped vehicles requiring scan tool service modes. If a repair is needed, financing is available so cost does not delay a safety fix. Same-day appointments are often available. Schedule your free brake inspection at Tom’s B & M Auto today.
Key Takeaways
A complete brake system inspection covers fluid condition, pad thickness, caliper movement, rotor measurement, hardware condition, parking brake function, ABS sensors, and brake booster operation across all four corners.
| Point | Details |
|---|---|
| Replace pads early | Swap pads at 3–4mm thickness, not just the 2mm minimum, due to faster wear near end of life. The final 2mm of pad thickness wears significantly faster from heat, so earlier replacement increases safety and longevity. |
| Test fluid, don’t just look | Use a moisture tester kit; high moisture lowers the boiling point and causes brake fade during hard stops. |
| Hardware sweep every time | Remove abutment clips and clean rust from bracket surfaces at every pad replacement to prevent noise and sticking. |
| EPB systems need a scan tool | Failing to use a scan tool to enter service mode on electronic parking brake calipers can permanently damage the actuator. |
| Tom’s B & M Auto | ASE-certified technicians in Lynnwood perform documented, 29-point brake inspections with same-day availability and a limited warranty. |
Recommended
- The Role of Brake Caliper in Vehicle Safety – Tom’s B & M Auto Blog
- How to Inspect Brake Pads at Home: A Safe Guide – Tom’s B & M Auto Blog
- What Is Brake Bleeding? A Car Owner’s Guide – Tom’s B & M Auto Blog
- Shop Safety Checklist for Mechanics: 2026 Guide – Tom’s B & M Auto Blog
Leave a Reply