
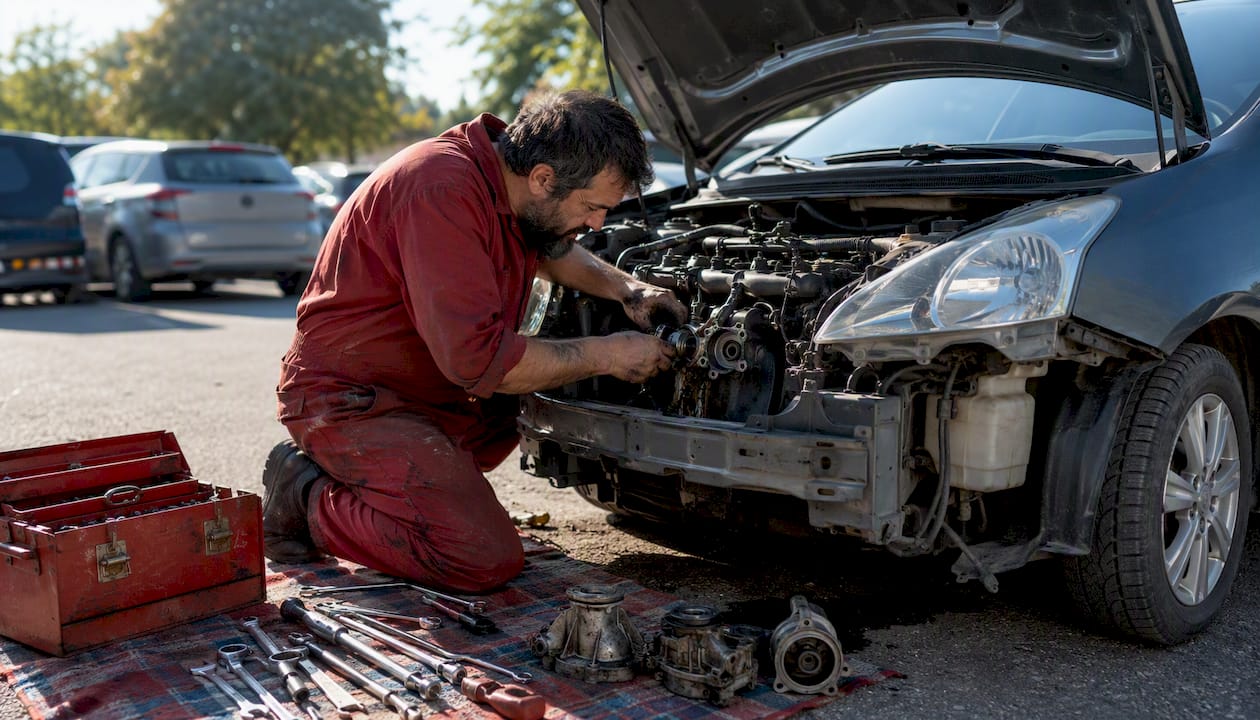
Replace Water Pump Step by Step: DIY Guide for Car Owners
Yes, a competent DIYer can replace a water pump step by step — provided you have a torque wrench, access to your vehicle’s factory service manual, and the patience to bleed the cooling system properly. The one-line plan: prep and document the engine bay, drain the coolant, remove obstructing belts and pulleys, swap the pump and gasket, torque to spec in a crisscross pattern, flush and bleed the system, then test at operating temperature. On a typical front-engine car with a serpentine-belt-driven pump, budget several hours including bleed and test time. A timing-belt-driven pump can take significantly longer, potentially most of a day or more.
The stakes are real. Gates TechZone notes that a water pump handles a large volume of coolant over its service life before failure risk rises sharply, and a failed pump can cause catastrophic engine damage within minutes of overheating. ASE-certified technicians at shops like Tom’s B & M Auto see this outcome regularly, which is why this guide follows Gates TechZone best practices and shop-tested procedure rather than generic internet advice.
- Who should DIY: Experienced home mechanics comfortable with torque wrenches, cooling-system bleeding, and reading a factory service manual.
- Who should hire a pro: Anyone whose pump is behind a timing cover, who lacks a torque wrench, or who isn’t confident performing a full coolant bleed.
- Core tools required: Torque wrench, socket set, drain pan, gasket scraper, and belt tools specific to your vehicle.
- Critical step most guides skip: Manually rotating the new pump before first start to seat the mechanical seal.
Table of Contents
- What tools and parts do you need before you start?
- Safety steps and vehicle prep you can’t skip
- How to replace a water pump step by step
- How do you flush and bleed the cooling system correctly?
- Common mistakes that cause leaks and early pump failure
- How long does the job take, and when should you hire a pro?
- What do credible sources say about water pump best practices?
- Key Takeaways
- What the shop actually sees on water pump jobs
- Not ready to DIY? Tom’s B & M Auto handles it right
- Useful sources and further reading
What tools and parts do you need before you start?
Pulling a half-assembled engine bay apart to make a parts run is one of the most common DIY mistakes. Get everything on the bench before you touch a bolt.
Essential tools
- Floor jack and rated jack stands (never rely on a scissor jack for under-car work)
- Drain pan with at least 2-gallon capacity
- Socket set (metric and SAE), extensions, and a breaker bar
- Torque wrench covering the range your pump bolts require (typically 15–25 ft-lbs, but always verify in your factory service manual)
- Gasket scraper and razor blade for mating surface prep
- Hose pliers or hose pick for stubborn coolant hoses
- Serpentine belt tool or breaker bar with the correct drive size
- Timing belt tools if your pump is behind the timing cover (locking pins, crankshaft holding tool)
- Wire brush and brake cleaner for surface cleaning
- Torque angle gauge if your OEM calls for angle-torque fasteners
Parts and consumables
- Vehicle-specific water pump (confirm by OEM part number, not just year/make/model)
- Matching gasket or O-ring (check whether your engine uses a paper gasket, a rubber O-ring, or a metal gasket)
- New serpentine or timing belt if it’s due or if you’re accessing the timing cover
- Belt tensioner and idler pulleys if mileage warrants it
- Fresh coolant in the manufacturer-specified type (do NOT mix green OAT with orange HOAT, for example)
- New hose clamps for any hoses you disturb
- New thermostat (recommended whenever the pump is out, since access is already open on many engines)
- RTV sealant only if your OEM instructions explicitly call for it
Pro Tip: Buy a water pump kit that includes the gasket and seals as a matched set. Gates TechZone recommends this specifically to avoid mismatched sealing hardware — a gasket from a different supplier can have slightly different thickness or material and cause a slow leak that’s maddening to diagnose.
Before ordering, cross-check the pump’s pulley height and bolt-hole orientation against your old pump. Some applications have multiple pump configurations for the same engine code, and the wrong orientation will misalign the belt.
Safety steps and vehicle prep you can’t skip
A water pump job on a warm engine is a burn hazard and a pressure hazard. Coolant at operating temperature sits above 200°F and the system is pressurized. Neither is forgiving.
- Let the engine cool completely before opening anything. Minimum 2 hours after shutdown; overnight is better.
- Disconnect the negative battery terminal before removing any electrical connectors near the pump or fan assembly.
- Lift the vehicle on rated jack stands, not ramps, if you need under-car access for the drain plug. Chock the rear wheels.
- Wear safety glasses and nitrile gloves throughout. Coolant is toxic to pets and children; capture every drop.
- Remove the radiator cap only when the engine is cold to relieve residual pressure before cracking any hose.
- Photograph everything before removal: belt routing, hose connections, bracket bolt locations, and any electrical connectors. You will not remember where that ground strap went.
For torque specifications, your factory service manual is the only authoritative source. Haynes and Chilton manuals are useful backups, but OEM specs take precedence. If you don’t own the manual, many public libraries carry ALLDATA or Mitchell1 subscriptions, and some automakers publish service information online.
Coolant disposal matters legally. Most auto parts stores (AutoZone, O’Reilly, Advance Auto Parts) accept used coolant for recycling at no charge. Never pour it down a drain or onto the ground.
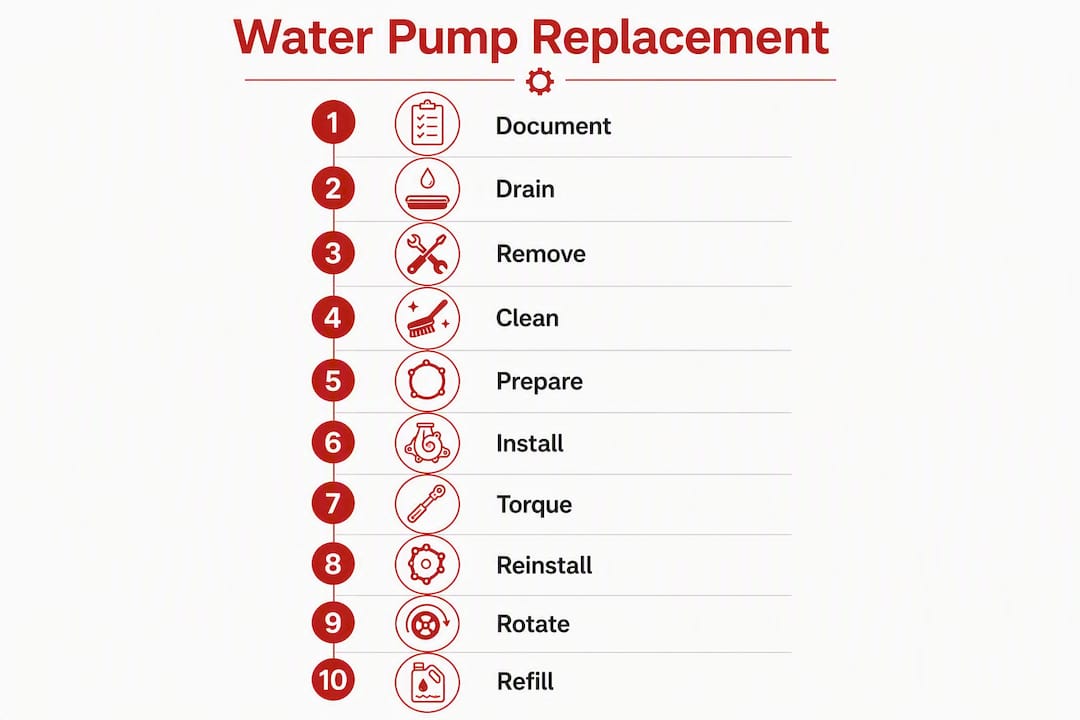
How to replace a water pump step by step
Work through these steps in order. Skipping ahead is how jobs turn into expensive rework.
Step 1: Document and prepare
Photograph the serpentine belt routing from multiple angles. If your vehicle has a belt routing diagram under the hood, confirm it matches what’s actually installed. Lay out all tools and parts on a clean surface. Confirm the part number on the new pump matches the old one before you go any further.
Step 2: Drain the coolant
Place your drain pan under the radiator petcock or lower radiator hose. Open the petcock or loosen the lower hose clamp and let the coolant drain completely. On many engines, the block also has a drain plug on the side; opening it speeds drainage and removes coolant that would otherwise spill when you pull the pump. Capture every drop.
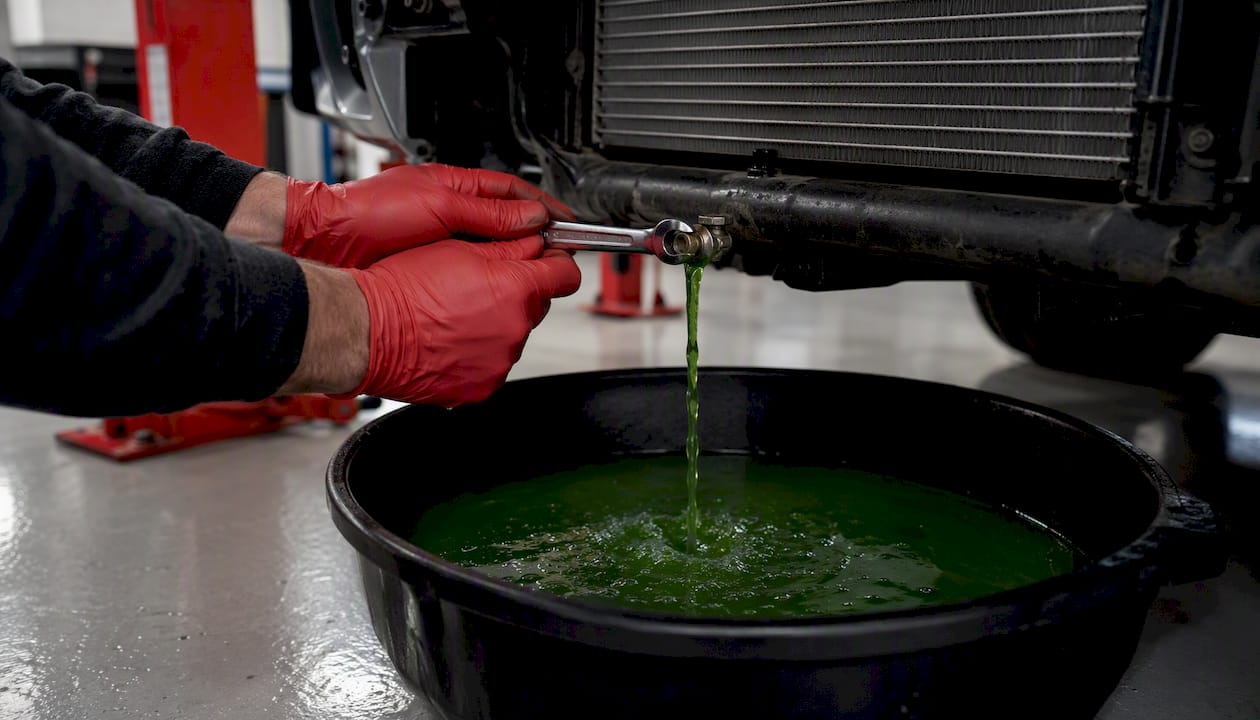
If you plan to flush the system (and you should), Gates recommends performing the flush with the old pump still installed. This prevents contaminated coolant from contacting the new pump’s fresh seal surfaces. Flush first, then swap the pump.
Step 3: Remove obstructing components
This step varies more than any other. On a serpentine-belt-driven pump:
- Release belt tension using the tensioner pulley and slide the belt off.
- Remove the fan shroud if it blocks access (two to four bolts on most applications).
- Remove the fan clutch or electric fan assembly.
- Unbolt the pump pulley before removing the pump itself (it’s easier to break the pulley bolts loose while the belt still holds the pulley).
On a timing-belt-driven pump, the job is significantly more involved:
- Remove the timing cover (usually multiple bolts and a few plastic clips).
- Rotate the crankshaft to TDC (top dead center) on cylinder 1 and confirm timing marks align before removing the belt.
- Lock the crankshaft and camshaft(s) in position using the correct locking tools for your engine.
- Remove the timing belt, tensioner, and idler pulleys.
At this point you’re already doing most of a timing belt job. Gates TechZone is explicit about replacing the timing belt and tensioners at the same time as the pump when you’re already this deep into the engine. The labor overlap makes it the only sensible call. See Tom’s B & M Auto’s timing belt replacement service for what a professional timing-belt-and-pump job involves.
Step 4: Remove the old pump
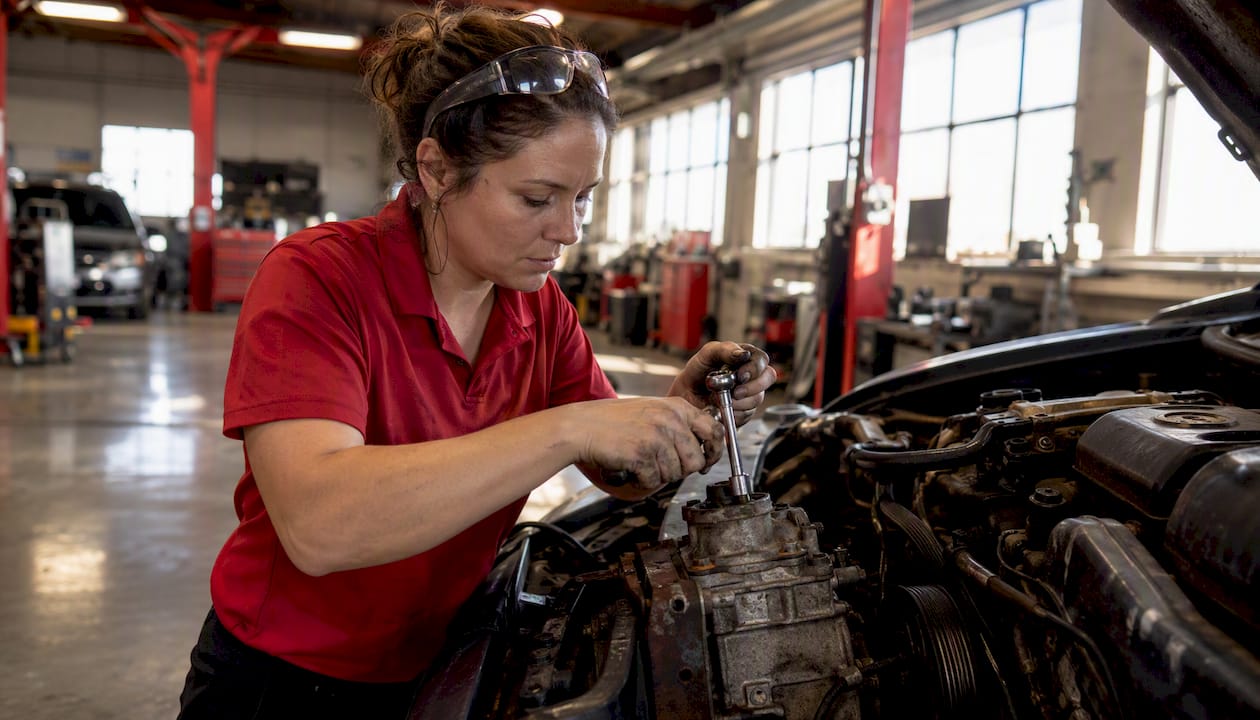
Unbolt the pump in a crisscross pattern to release pressure evenly on the gasket. If the pump is stuck to the block (common on aluminum engines), work around the perimeter with a rubber mallet or a plastic pry tool. Never pry from a single point — you will gouge the aluminum mating surface and create a leak that no gasket can fix. Apply gradual, even pressure and the pump will break free.
Step 5: Clean the mating surface
This step determines whether your new pump leaks. Use a gasket scraper to remove all old gasket material, then wipe the surface with brake cleaner on a lint-free rag. Run your fingernail across the surface. Any ridge or scratch you can feel will telegraph through the new gasket. A fine-grit sanding block (400 grit) can smooth minor imperfections on aluminum; deeper gouges may require a machine shop or a new block surface.
Step 6: Prepare the new pump and gasket
Dry-fit the new gasket against the pump to confirm it aligns with every bolt hole and port. Gates TechZone is clear on sealant: do not apply RTV to O-rings or dry gaskets unless the vehicle manufacturer explicitly calls for it. Excess sealant can break off inside the cooling system and clog passages or damage the new seal. If your OEM specifies RTV, apply a thin, continuous bead only where specified.
Step 7: Install the pump and torque to spec
Set the pump and gasket in place. Start all bolts by hand before tightening any of them. Snug them in a crisscross pattern to draw the gasket down evenly, then torque to the manufacturer’s specification in the same crisscross sequence. If your engine uses bolts of different lengths, confirm each bolt goes back into its original hole — a bolt that’s too long can bottom out before clamping the pump and will strip the thread or crack the housing.
| Typical pump bolt torque ranges by engine material | Torque range |
|---|---|
| Cast iron block | 15–25 ft-lbs |
| Aluminum block | 10–25 ft-lbs |
| Timing-cover pump bolts (small diameter) | 15–25 ft-lbs |
Always verify against your factory service manual. These are representative ranges, not universal specs.
Pro Tip: If your engine has a mix of bolt lengths, photograph them laid out in their hole positions before removal. A quick phone photo of the bolts arranged on a piece of cardboard with their positions labeled takes 30 seconds and saves real trouble on reassembly.
Step 8: Reinstall belts, pulleys, and timing components
For serpentine-belt systems, reinstall the pulley, route the belt per your reference photo, and verify the belt sits centered in every pulley groove. Check tensioner spring tension by pressing the tensioner with your thumb — it should resist firmly.
For timing-belt systems, this is the most critical phase of the job. Install the new timing belt, tensioner, and idler pulleys. Verify all timing marks align exactly before releasing the crankshaft lock. Rotate the engine two full turns by hand and recheck the marks. A timing mark that’s off by one tooth can cause misfires or, on interference engines, bent valves.
Step 9: Rotate the pump before first start
Before reconnecting hoses and refilling coolant, rotate the new pump pulley by hand approximately 10 full turns. Gates recommends this step specifically to draw coolant into the mechanical seal so the pump doesn’t run dry during the critical first seconds of operation. A dry-start on a fresh seal is one of the most common causes of early pump failure.
Step 10: Refill, start, and inspect
Reconnect all hoses and clamps. Fill the cooling system slowly through the radiator neck or overflow reservoir, depending on your vehicle’s fill point. Leave the radiator cap off during initial fill to let air escape. Start the engine and proceed to the full bleeding procedure in the next section.
Visual sign-off checklist before lowering the vehicle:
- All pump bolts torqued to spec
- Belt seated correctly in every pulley groove
- All hose clamps tight and positioned over the bead
- No coolant pooling under the engine
- Timing marks confirmed (timing-belt applications)
How do you flush and bleed the cooling system correctly?
Skipping the flush is the single most common mistake after a pump swap. Old coolant contains contaminants — rust particles, scale, and degraded inhibitors — that can abrade a new pump’s dynamic seal and cause it to fail well before its service life. A new pump in dirty coolant is a waste of the part.
Flushing the system
Simple garden-hose flush works for systems with relatively clean coolant:
- With the old pump still installed (see Gates guidance above), drain the system completely.
- Close the drain, fill with distilled water, run the engine to operating temperature, then drain again.
- Repeat until the drained water runs clear.
- Drain completely before installing the new pump.
Chemical flush is warranted when coolant is brown, rusty, or has visible particles. Products like Prestone Flush + Fill or similar flush chemicals circulate through the system and break down scale deposits. Follow the product’s dwell time instructions before draining.
Professional machine flush uses pressure-exchange equipment to push fresh coolant through while simultaneously extracting the old. This is the most thorough method and is worth considering if the system hasn’t been serviced in several years. Tom’s B & M Auto’s cooling system flush service in Lynnwood uses this equipment.
Bleeding air from the system
Air pockets in the cooling system cause hot spots, fluctuating temperature gauges, and heater cores that blow cold. Here’s how to get them out:
- Fill the system with the manufacturer-specified coolant mixed to the correct concentration (typically 50/50 with distilled water).
- Leave the radiator cap off and set the heater to maximum heat and maximum fan.
- Start the engine and let it idle. Watch the coolant level in the radiator neck — it will drop as air escapes. Keep topping it up.
- If your vehicle has bleed screws (common on European cars and some Hondas), open them slightly until coolant flows without bubbles, then close them.
- Lift the front of the vehicle slightly on jack stands to raise the radiator above the engine. This helps trapped air migrate toward the fill point.
- Continue idling until the thermostat opens (you’ll feel the upper radiator hose get hot). At that point, coolant will circulate through the full system and remaining air will burp out.
- Top off, install the radiator cap, and check the overflow reservoir level.
Do not drive the vehicle until the system is fully bled and the temperature gauge holds steady at normal operating range. A fluctuating gauge after a pump replacement almost always means trapped air, not a failed pump.
Use the manufacturer-specified coolant type without exception. Mixing incompatible coolant chemistries — say, green conventional with orange DEXCOOL — creates a gel-like sludge that clogs passages and destroys pump seals. Check your owner’s manual or the cap on the coolant reservoir for the correct specification.
Common mistakes that cause leaks and early pump failure
Most post-replacement problems trace back to a handful of errors. Knowing them in advance is worth more than any troubleshooting guide.
- Skipping the cooling-system flush — Contaminated coolant will abrade the new seal. This is the leading cause of premature pump failure after a DIY swap.
Troubleshooting after installation
Weep-hole drip during the first 10 minutes: Gates notes that slight seepage from the weep hole during the initial break-in period is normal as the mechanical seal seats. If it continues beyond the first warm-up cycle, the pump is defective or the seal was damaged during installation.
Coolant leak at the mating surface: The gasket wasn’t seated evenly, the surface wasn’t clean, or the bolts weren’t torqued correctly. Remove the pump, inspect the surface, and reinstall with a new gasket.
Noisy pump bearing (grinding or whining): The pump was installed with belt tension too high, or the pump itself is defective. Check belt alignment and tension first.
Overheating after replacement: Almost always trapped air. Run the full bleed procedure again before assuming the pump is faulty.
Pro Tip: After the first heat cycle, let the engine cool completely and re-check every pump bolt for torque. Gaskets compress slightly as they seat, and a bolt that was at spec when cold can feel slightly loose after the first thermal cycle. A quick re-torque check takes five minutes and prevents slow leaks.
How long does the job take, and when should you hire a pro?
The honest time estimate depends almost entirely on where your pump lives.
- Serpentine-belt-driven pump (accessible location): 3–5 hours for an experienced DIYer, including drain, swap, flush, bleed, and test.
- Timing-belt-driven pump (behind timing cover): 6–10 hours or more, depending on engine complexity and whether you’re replacing the timing belt simultaneously.
- First-time DIYer on either layout: Add 2–3 hours for research, mistakes, and parts runs.
Parts costs vary by vehicle, but a rough breakdown for a typical domestic or Japanese application:
- Water pump prices vary widely depending on brand and OEM status
- Gasket/seal kit prices vary depending on supplier
- Coolant prices vary depending on type and quantity
- Timing belt kit prices depend on vehicle and kit composition
- Thermostat prices vary widely by make and model
Labor costs at a shop vary significantly depending on vehicle and region, generally higher for timing-belt applications.
Hire a professional when:
- The pump is behind the timing cover and you’ve never set timing marks before.
- You don’t own a torque wrench or can’t find your vehicle’s torque specifications.
- You’re not confident performing a complete cooling-system bleed.
- A previous DIY attempt resulted in a leak or overheating.
- The engine is an interference design where a timing error means bent valves.
ASE-certified technicians bring factory torque specs, pressure-testing equipment, and professional flush machines to the job. A shop also provides a warranty on the work, which a DIY job cannot. For a timing-belt-driven pump on an interference engine, the cost of a professional job is cheap insurance against a $3,000 engine rebuild.
What do credible sources say about water pump best practices?
The guidance that separates a pump that lasts 100,000 miles from one that fails in 20,000 comes down to a few non-negotiable practices backed by industry research.
- Replace the pump when servicing the timing or accessory belt. Gates TechZone recommends this explicitly — the labor to access the pump is already done, and a pump that’s approaching the end of its service life will fail shortly after the belt is replaced anyway, requiring the same teardown twice.
- Flush the system before installing the new pump. Contaminants in old coolant scratch the dynamic seal. Gates identifies this as a primary cause of premature pump failure after replacement.
- Rotate the pump 10 turns before first start. This practitioner-level technique draws coolant into the mechanical seal and prevents the dry-start damage that kills new pumps in their first minutes of operation.
- Match the coolant to the manufacturer’s specification. AutoZone’s guidance on coolant selection is consistent with OEM recommendations: wrong coolant chemistry degrades seals and creates deposits that shorten pump life.
- Consult the factory service manual for torque specs. Generic torque values are a starting point, not a substitute. Bolt diameter, thread pitch, and block material all affect the correct spec.
Tom’s B & M Auto’s ASE-certified technicians follow this sequence on every cooling-system job. The shop’s 24-month/24,000-mile warranty on all work reflects confidence in that procedure.
Key Takeaways
Replacing a water pump correctly requires torque-to-spec installation, a complete cooling-system flush, and a proper bleed procedure — skipping any one of these three steps is the direct cause of most post-replacement failures.
| Point | Details |
|---|---|
| Flush before installing the new pump | Old coolant contaminants abrade the new seal; flush with the old pump still in place per Gates guidance. |
| Torque in a crisscross pattern | Uneven torque warps the gasket; always follow the manufacturer’s spec from the factory service manual. |
| Rotate the pump 10 turns before first start | This seats the mechanical seal and prevents dry-start damage during the critical first seconds of operation. |
| Replace belt and tensioners at the same time | If the pump is timing-belt-driven, replacing the belt simultaneously avoids repeating the same teardown later. |
| Tom’s B & M Auto for professional service | ASE-certified techs, pressure testing, full flush equipment, and a 24-month/24,000-mile warranty on all work. |
What the shop actually sees on water pump jobs
The jobs that come into Tom’s B & M Auto’s bays after a DIY water pump attempt follow a pattern. The pump itself is usually fine. The leak is almost always at the mating surface, and the cause is almost always one of three things: a gasket surface that wasn’t fully cleaned, bolts that were torqued in the wrong sequence, or a cooling system that was never properly bled.
The timing-belt-driven pump jobs are where DIY attempts most often turn into shop rescues. A timing mark that’s off by one tooth on an interference engine is not a “close enough” situation. The technicians here use locking tools specific to the engine family, verify marks before and after belt installation, and rotate the engine by hand twice before starting it. That process takes time, and it’s the reason the job carries a warranty.
A few practical notes from the bay: replace every hose clamp you disturb, not just the ones that look bad. A clamp that’s been compressed and released once has lost some of its clamping force. Photograph the ground strap locations before removal — they’re the most commonly forgotten item on reassembly. And if the coolant you drain is brown or has visible particles, don’t reuse it regardless of how recently it was changed. Contaminated coolant is cheap to replace and expensive to ignore.
The serpentine belt condition matters too. If the belt shows cracking, glazing, or rib wear, replace it while you have it off. The incremental cost is minimal compared to a roadside failure.
Not ready to DIY? Tom’s B & M Auto handles it right
Water pump replacement done correctly — with pressure testing, a machine flush, and OEM-spec torque — is a different job than what most DIY guides describe. Tom’s B & M Auto has been doing it in the Lynnwood area since 1985, with ASE-certified technicians on every job and a 24-month/24,000-mile warranty covering all work.
The shop handles the full scope: diagnostic pressure testing to confirm the pump is the source of the problem, a complete cooling system flush in Lynnwood with professional equipment, water pump and gasket replacement to factory torque specs, and timing belt replacement when the pump is behind the timing cover. Financing is available through Tom’s B & M Auto’s financing page to spread the cost of larger repairs. Current specials include $50 off any repair over $300 and $150 off any repair over $1,000.
If a DIY attempt has left you with a leak, an overheating engine, or a timing concern, bring the vehicle in. Same-day appointments are often available. Call (425) 776-5054 or book online at bandmautocare.com.
Useful sources and further reading
The sources below are worth bookmarking for model-specific torque specs, coolant guidance, and deeper troubleshooting.
| Source | What it covers |
|---|---|
| Gates TechZone: Water Pump Replacement Do’s and Don’ts | Flush sequence, sealant guidance, pre-start rotation technique |
| Gates TechZone Installation Guide | Full installation procedure, timing belt overlap, pump kit selection |
| AutoZone: How to Replace a Water Pump | Coolant type selection, step-by-step overview for common applications |
| Tom’s B & M Auto: Cooling System Flush, Lynnwood WA | Professional flush service, equipment, and booking |
| Tom’s B & M Auto: Timing Belt Replacement | Timing belt service details for timing-belt-driven pump applications |
For engine coolant selection and why the type matters to pump longevity, Tom’s B & M Auto’s blog covers the chemistry in plain language.
Recommended
- What Is Radiator Function in Your Car’s Cooling System – Tom’s B & M Auto Blog
- Common Honda Repair Needs: Your 2026 Owner’s Guide – Tom’s B & M Auto Blog
- Auto Repair Warranty Explained: What Car Owners Must Know – Tom’s B & M Auto Blog
- Advanced Engine Timing Procedures: Technician’s Guide – Tom’s B & M Auto Blog
Leave a Reply